
There’s something so charming about cooking with simple ingredients that come together to create something special. Joshinko, a type of Japanese rice flour, is one of those ingredients that opens up a world of delightful possibilities. Whether you’re serving them as a snack, appetizer, or a unique addition to your meal, these little treats are sure to become a favorite in your kitchen. Plus, they are quick and easy to make, allowing you to whip them up whenever the craving strikes!
Why You’ll Love Joshinko
- Fast: You can have these delicious treats prepped and cooked in about 15 minutes.
- Easy: The simple ingredients and straightforward method make it a breeze to prepare.
- Versatile: You can add your favorite flavors, making them perfect for any taste preference.
- Comforting: The warm, soft texture is perfect for cozy evenings or gatherings with friends.
Ingredients
- 1 cup joshinko (Japanese rice flour): This is the star of the show! It gives your dish that unique texture.
- 1/4 cup water: Just enough to bring everything together smoothly.
- 1/4 teaspoon salt: A little seasoning goes a long way in elevating the flavors.
- Optional ingredients: Consider adding green onions or sesame seeds for a tasty twist.
How to Make Joshinko
Now that we have our ingredients ready, let’s dive into the step-by-step process to create these delightful bites!
- In a mixing bowl, combine the joshinko and salt, giving it a good stir to mix the dry ingredients.
- Gradually add the water to the mixture, stirring until a smooth dough forms. It should be soft but not sticky.
- If you’re feeling adventurous, this is the time to incorporate any optional ingredients like chopped green onions or sesame seeds for an extra burst of flavor!
- Divide the dough into small portions and shape them as you like—flat discs or small balls work great!
- Heat a non-stick skillet over medium heat. If needed, lightly grease the skillet to prevent sticking.
- Cook each portion for about 2-3 minutes on each side, or until they are lightly golden and cooked through.
- Remove from the skillet and serve warm. Enjoy them as they are, or with a dipping sauce of your choice!
Substitutions & Additions
If you want to mix things up, here are a few suggestions:
- Swap out joshinko for other types of rice flour if you’re in a pinch.
- Add spices like garlic powder or chili flakes for a kick!
- Try incorporating different herbs or finely diced vegetables to personalize the flavor.
Tips for Success
Here are some handy tips to ensure your joshinko turns out perfectly:
- Be careful not to add too much water at once; you can always add more if needed to achieve the right consistency.
- Don’t rush the cooking process. Give them enough time to become golden and delicious!
- These can be made ahead of time and reheated in a skillet for a quick snack or side.
How to Store Joshinko
Store any leftovers in an airtight container in the fridge for up to 3 days. To reheat, simply warm them in a skillet over low heat. They can also be frozen! Just place them in a freezer-safe bag, and they will keep for up to a month.
FAQs
- Can I make this gluten-free? Yes, just ensure that the rice flour you use is labeled gluten-free.
- What can I serve with joshinko? They pair wonderfully with soy sauce, a sweet dipping sauce, or even a side salad.
- Can I add protein to the dough? Absolutely! Consider mixing in some finely chopped cooked chicken or shrimp for a heartier snack.
Making joshinko is a delightful experience that brings warmth and comfort to your kitchen. They are quick, easy, and endlessly customizable, making them the perfect treat for any occasion. For more delicious recipes, check out the delightful hot chocolate fudge or Japanese apple salad for treats you will love!
Don’t forget to follow us on Pinterest for more inspiration and recipes to savor!

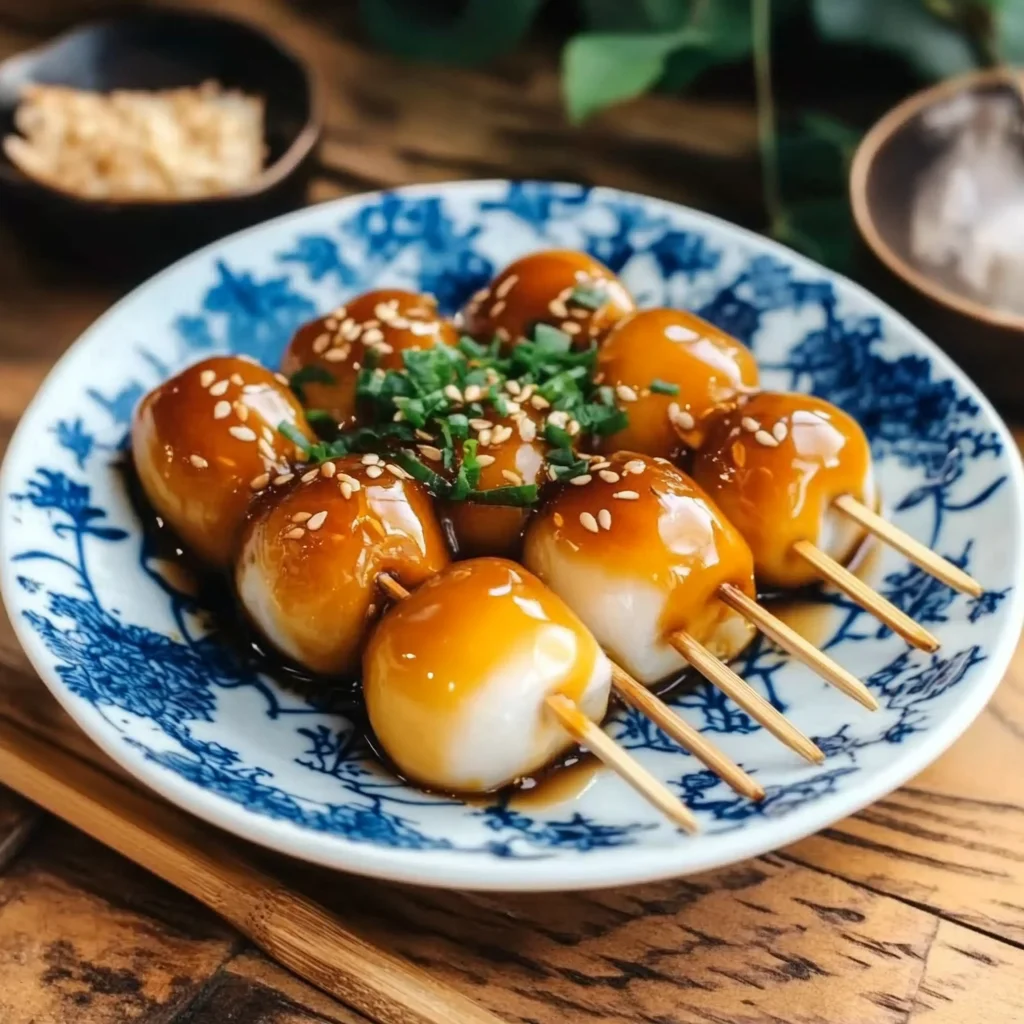
Joshinko
Ingredients
Equipment
Method
- Step 1: In a mixing bowl, combine the joshinko and salt, giving it a good stir to mix the dry ingredients.
- Step 2: Gradually add the water to the mixture, stirring until a smooth dough forms. It should be soft but not sticky.
- Step 3: Divide the dough into small portions and shape them as you like—flat discs or small balls work great!
- Step 4: Heat a non-stick skillet over medium heat. If needed, lightly grease the skillet to prevent sticking.
- Step 5: Cook each portion for about 2-3 minutes on each side, or until they are lightly golden and cooked through.
- Step 6: Remove from the skillet and serve warm. Enjoy them as they are, or with a dipping sauce of your choice!