
There’s something so comforting about the aroma of curry wafting through your kitchen, isn’t there? Just thinking about it brings back memories of cozy family dinners and laughter around the table. Making your own Japanese curry roux is not only simple but also a delightful way to infuse your meals with warmth and flavor. The best part? You can whip it up in no time, and it lasts for months!
Why You’ll Love How to Make Japanese Curry Roux
- Fast: You can have this flavorful roux ready in less than 30 minutes.
- Easy: With just a few ingredients and simple steps, even beginner cooks can master this recipe.
- Customizable: You can adjust the spices to make it as mild or spicy as you like.
- Versatile: Perfect for curry rice, soups, and even as a seasoning for other dishes!
Ingredients
- 1/4 cup vegetable oil: This helps to create a rich base for the roux.
- 1/4 cup all-purpose flour: The key ingredient that thickens the roux.
- 2 tablespoons curry powder: This gives the roux its signature flavor.
- 1 tablespoon garam masala: A warm spice blend that enhances the curry’s depth.
- 1 tablespoon sugar: Balances out the spices for a perfectly rounded taste.
- 1 teaspoon salt: Essential for flavor enhancement.
- 1 teaspoon soy sauce: Adds umami and a hint of color.
- 1/2 teaspoon garlic powder: For that delicious savory aroma.
- 1/2 teaspoon onion powder: Complements the garlic perfectly.
- 1/4 teaspoon cayenne pepper (optional): For a little kick if you like it spicy!
How to Make Japanese Curry Roux
- In a saucepan, heat the vegetable oil over medium heat.
- Once hot, add the flour and stir continuously for about 10 minutes, until the mixture turns golden brown.
- Stir in the curry powder, garam masala, sugar, salt, soy sauce, garlic powder, onion powder, and cayenne pepper (if using).
- Continue to cook for another 2-3 minutes, stirring constantly to prevent burning.
- Remove from heat and allow to cool before transferring to an airtight container.
- Store in a cool, dry place for up to 3 months.
Substitutions & Additions
If you’re out of any ingredient, don’t worry! Here are some easy swaps:
- Canola oil or olive oil can replace vegetable oil.
- For a gluten-free version, use a gluten-free flour blend.
- Try adding a pinch of cinnamon for a unique flavor twist.
- Add some dried herbs like thyme or bay leaf for extra depth.
Tips for Success
Here are some tips to ensure your roux turns out perfectly:
- Keep stirring while cooking the flour to avoid burning.
- Don’t rush the browning process; it adds a rich flavor.
- Allow the roux to cool completely before storing it to maintain its texture.
How to Store Japanese Curry Roux
Your homemade curry roux can be stored in an airtight container in a cool, dry place for up to 3 months. If you want to keep it even longer, consider storing it in the refrigerator, but make sure it’s well-sealed to prevent moisture from getting in!
FAQs
Can I use this roux for other dishes? Absolutely! This roux can be used to enhance soups, stews, and even roasted vegetables.
How can I make it spicier? You can increase the amount of cayenne pepper or add a dash of hot sauce when cooking with it.
Is it possible to make this roux vegan? Yes, just ensure that the vegetable oil and other ingredients are vegan-friendly.
Making your own Japanese curry roux is a fun and rewarding experience that will elevate your cooking game. For more delicious recipes, check out the easy hot chocolate fudge recipe or delicious Japanese apple salad for treats you will love!
Don’t forget to follow us on Pinterest for more tasty ideas and inspiration!

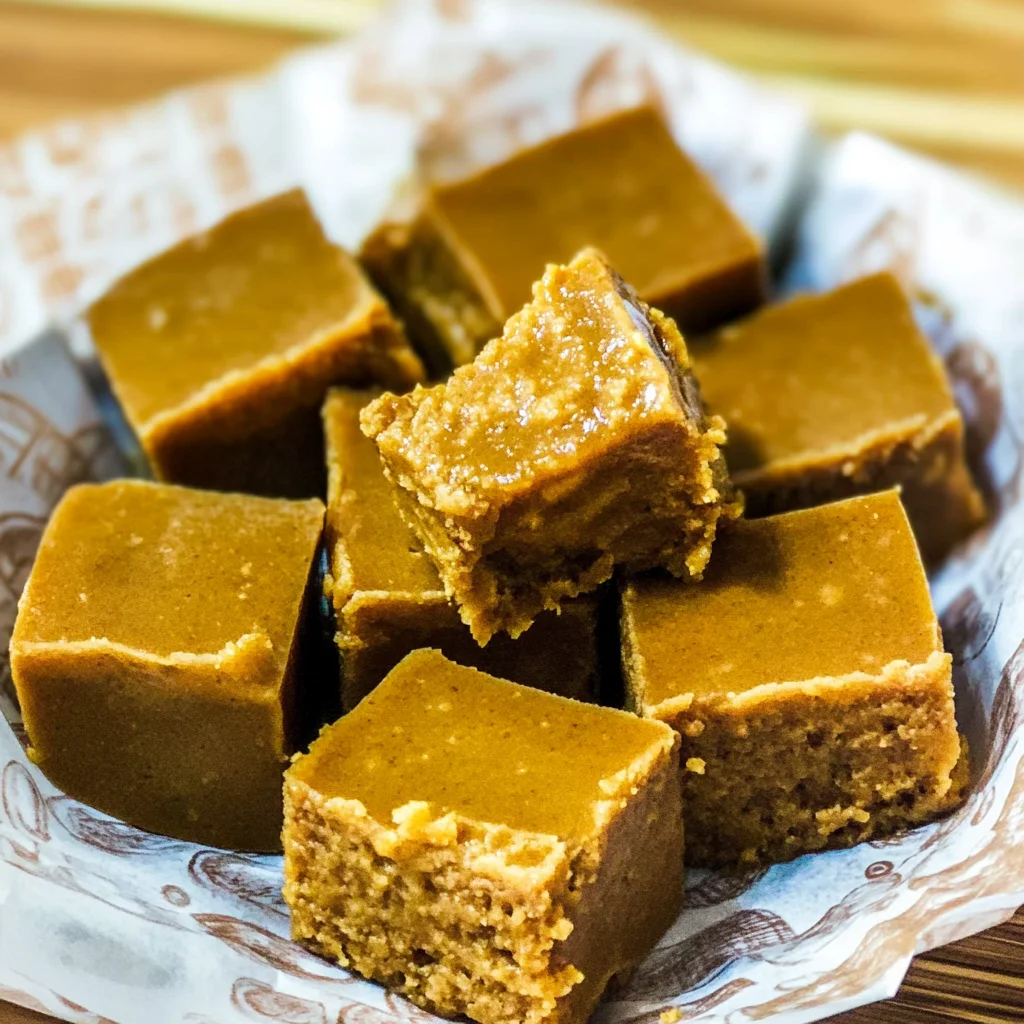
Japanese Curry Roux
Ingredients
Equipment
Method
- Step 1: In a saucepan, heat the vegetable oil over medium heat.
- Step 2: Once hot, add the flour and stir continuously for about 10 minutes, until the mixture turns golden brown.
- Step 3: Stir in the curry powder, garam masala, sugar, salt, soy sauce, garlic powder, onion powder, and cayenne pepper (if using).
- Step 4: Continue to cook for another 2-3 minutes, stirring constantly to prevent burning.
- Step 5: Remove from heat and allow to cool before transferring to an airtight container.
- Step 6: Store in a cool, dry place for up to 3 months.