
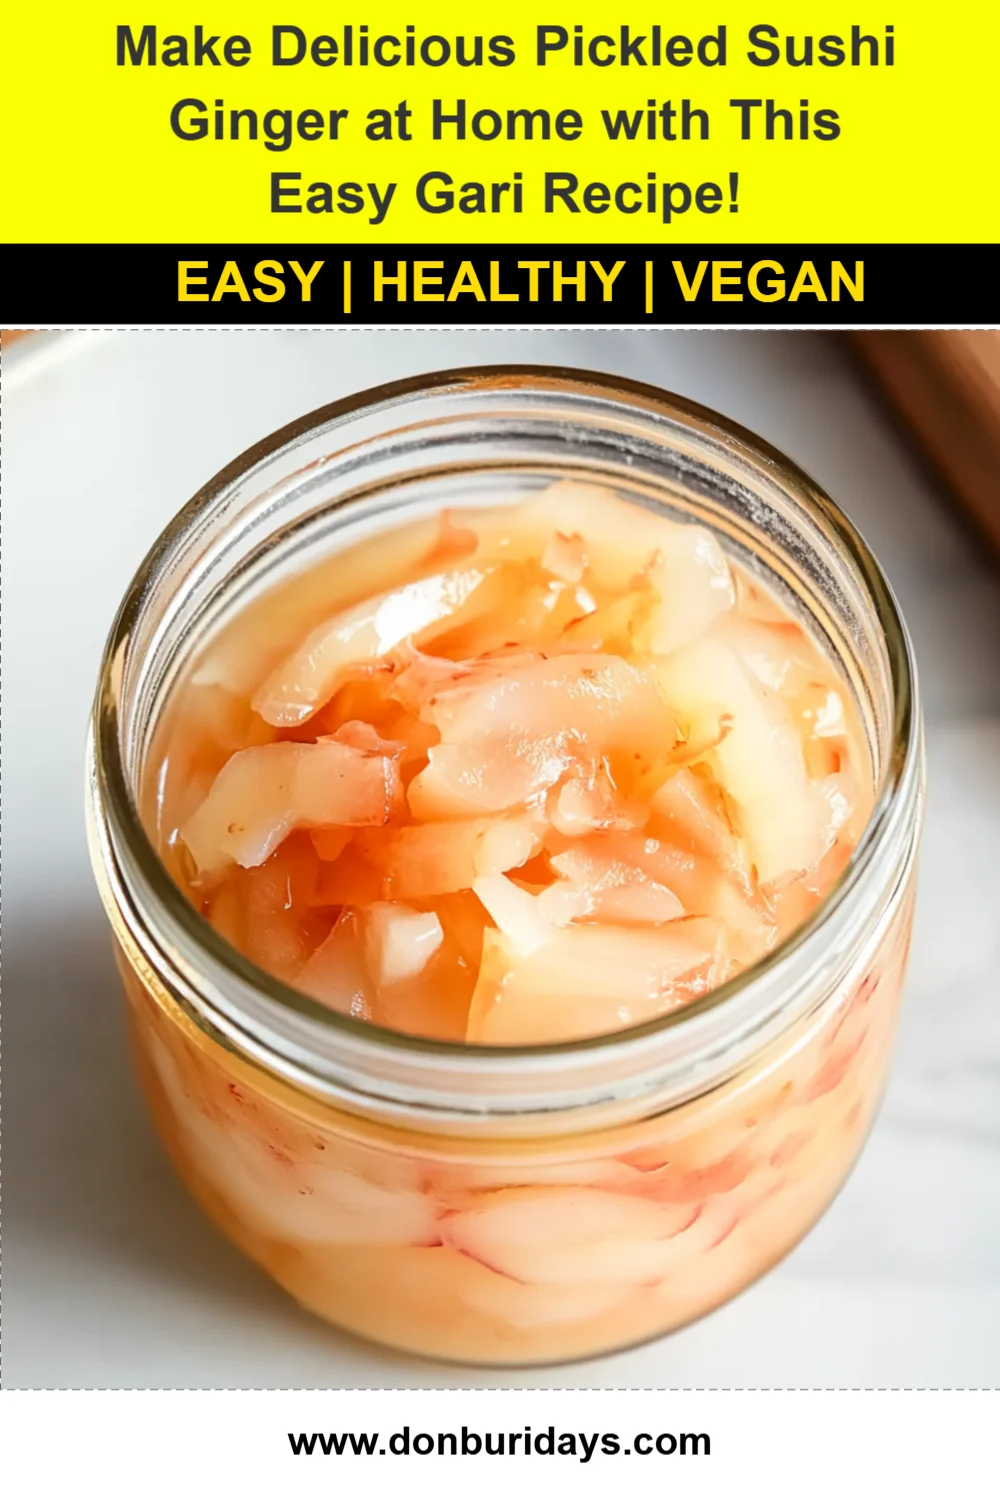
There’s something incredibly special about the zingy flavor of pickled sushi ginger, or gari, that takes sushi night to a whole new level. I remember the first time I tasted it at my favorite sushi restaurant, and I was instantly hooked! Now, making this delightful condiment at home is not only easy but also a fun way to elevate your meals. Whether you are serving sushi, rice bowls, or even enjoying it as a snack, this recipe will be a memorable addition to your kitchen.
Why You’ll Love Pickled Sushi Ginger (Gari)
- Fast: You can have the main components prepped in about 30 minutes.
- Easy: The process is straightforward, making it perfect for beginner cooks.
- Giftable: This lovely jar of ginger makes a great homemade gift for friends or family.
- Crowd-pleasing: People will ask for your secret ingredient when they taste this!
Ingredients
- 1 cup fresh young ginger, thinly sliced: Look for firm ginger with smooth skin for the best flavor.
- 1 cup rice vinegar: This gives the ginger its signature zing and balance.
- 1 cup sugar: Sweetness helps to balance the vinegar’s acidity.
- 1 teaspoon salt: A little salt enhances the flavor and helps draw moisture from the ginger.
- 1 tablespoon water: Just a small amount to help dissolve the sugar.
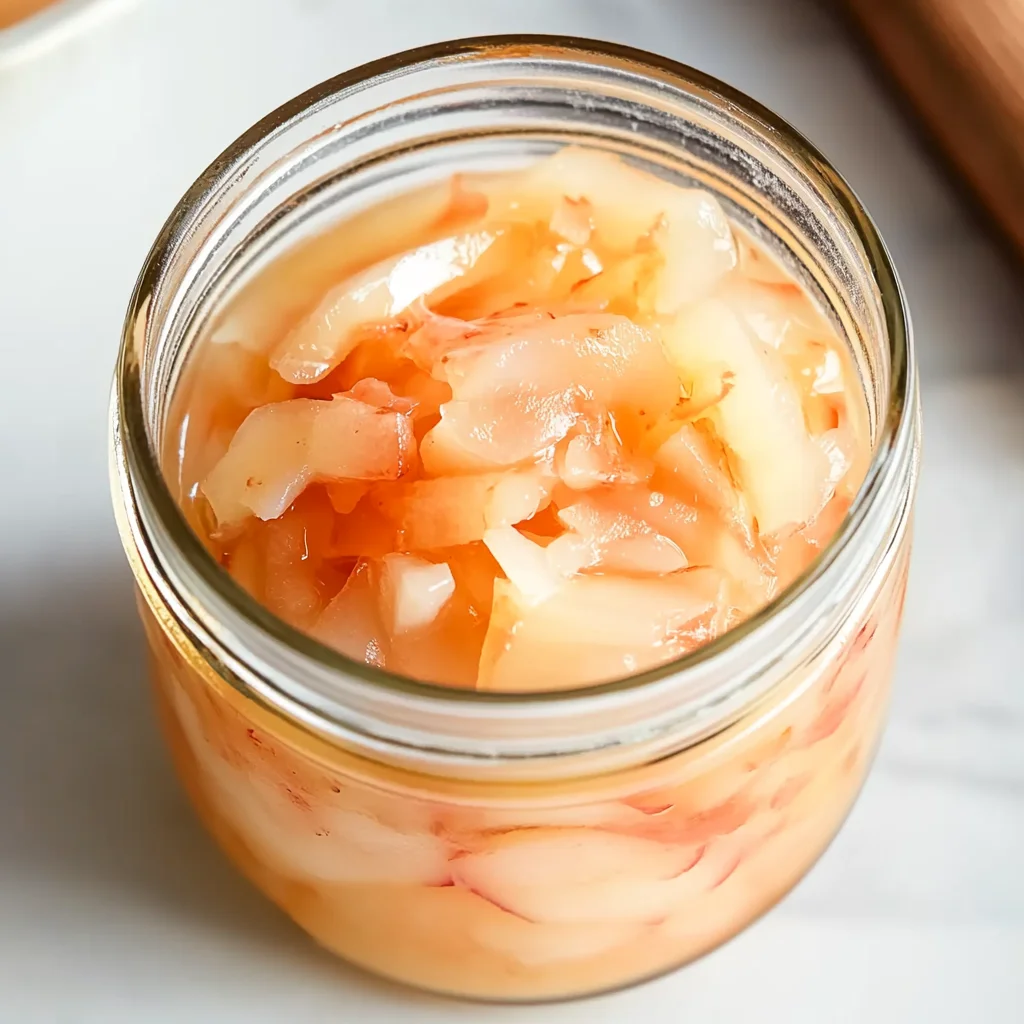
- Pink food coloring (optional): This adds a lovely pop of color, making your pickled ginger visually appealing.
How to Make Pickled Sushi Ginger (Gari)
Ready to dive in? Let’s get started! Follow these simple steps for a delicious homemade batch of pickled sushi ginger.
- Peeled and sliced ginger: Start by peeling the fresh ginger and slicing it thinly with a mandoline or a sharp knife. The thinner, the better!
- Salt it: Place the sliced ginger in a bowl, sprinkle with salt, and let it sit for about 30 minutes. This will help tenderize it and draw out excess moisture.
- Prepare the vinegar mixture: In a saucepan, combine the rice vinegar, sugar, and water. Heat over medium heat, stirring until the sugar dissolves. Bring to a gentle simmer and then remove from heat.
- Add color: If you want that beautiful pink hue, add a few drops of pink food coloring to the vinegar mixture and stir well.
- Jar it up: Place the ginger slices in a sterilized jar and pour the vinegar mixture over them, ensuring the ginger is completely submerged.
- Seal and cool: Seal the jar and let it cool to room temperature, then refrigerate for at least 24 hours before using. This waiting period allows the flavors to meld beautifully.
- Enjoy: Once ready, you can enjoy your pickled ginger with sushi, rice bowls, or even as a zesty snack!
Substitutions & Additions
If you want to get creative with your pickled ginger, consider these swaps and additions:
- Vinegar: You can use apple cider vinegar or white vinegar if you don’t have rice vinegar on hand.
- Sweeteners: Try substituting sugar with honey or agave syrup for a different flavor profile.
- Spices: Add a touch of star anise or a few peppercorns to the vinegar for an aromatic twist.
Tips for Success
Here are a few tips to ensure your pickled ginger turns out fantastic:
- Be patient: Letting the ginger marinate for at least 24 hours in the fridge is key to developing the best flavor.
- Slice evenly: Uniform slices will ensure that the ginger pickles evenly. A mandoline works wonders for this!
- Keep it sterilized: Always use a sterilized jar to store your ginger to keep it fresh for longer.
How to Store Pickled Sushi Ginger (Gari)
Once you’ve made your pickled ginger, it’s important to store it properly. Keep it in a sealed jar in the refrigerator, and it will last for up to 1 month. Just make sure the ginger remains submerged in the vinegar mixture to keep it fresh.
FAQs
- How do I know if my pickled ginger is bad? If you notice any off smells, discoloration, or mold, it’s best to discard it.
- Can I use older ginger for this recipe? While fresh young ginger is ideal, older ginger can be used, but it may not be as tender.
- Is pickled ginger vegan? Yes, pickled ginger is vegan-friendly and a great addition to many dishes!
And there you have it! A simple yet delightful recipe for making your own pickled sushi ginger at home. For more delicious recipes, check out this easy pickled ginger recipe or these delicious pork spring rolls for treats you will love!
Don’t forget to follow us on Pinterest for more culinary inspiration!
Pickled Sushi Ginger (Gari)
Ingredients
Equipment
Method
- Step 1: Start by peeling the fresh ginger and slicing it thinly with a mandoline or a sharp knife.
- Step 2: Place the sliced ginger in a bowl, sprinkle with salt, and let it sit for about 30 minutes.
- Step 3: In a saucepan, combine the rice vinegar, sugar, and water. Heat over medium heat, stirring until the sugar dissolves.
- Step 4: If you want that beautiful pink hue, add a few drops of pink food coloring to the vinegar mixture and stir well.
- Step 5: Place the ginger slices in a sterilized jar and pour the vinegar mixture over them.
- Step 6: Seal the jar and let it cool to room temperature, then refrigerate for at least 24 hours before using.
- Step 7: Once ready, you can enjoy your pickled ginger with sushi, rice bowls, or even as a zesty snack!