
There is something magical about the tangy crunch of red pickled ginger that transports me back to my favorite sushi restaurant. The vibrant color and zesty flavor make it the perfect companion for so many dishes, and the best part? It’s incredibly easy to make at home! In just a few simple steps, you can have this delightful condiment ready to elevate your meals and snacks.
Why You’ll Love Red Pickled Ginger (Beni Shoga)
- Fast: You can have the main components prepped in about 30 minutes.
- Easy: The steps are straightforward, making it perfect for first-time picklers.
- Giftable: Homemade pickled ginger makes a thoughtful gift for food lovers.
- Crowd-pleasing: This zesty condiment is a favorite at gatherings and potlucks!
Ingredients
- 1 cup young ginger: Fresh ginger adds a fragrant and spicy kick.
- 1 cup rice vinegar: This gives a mild acidity that balances the sweetness.
- 1/2 cup sugar: Sweetens the vinegar to create that signature flavor.
- 1 teaspoon salt: Helps draw out moisture from the ginger.
- Red food coloring (optional): Adds that eye-catching hue, but it’s not necessary.
How to Make Red Pickled Ginger (Beni Shoga)
Let’s dive into the step-by-step process of making your own red pickled ginger!
- Start by peeling and thinly slicing the young ginger. Place the slices in a bowl and sprinkle with salt. Let them sit for about 30 minutes to allow the salt to draw out moisture.
- After 30 minutes, rinse the ginger slices under cold water and drain well. This step helps to reduce the saltiness.
- In a saucepan, combine the rice vinegar and sugar. Heat over medium heat, stirring until the sugar completely dissolves. Once dissolved, remove the mixture from heat.
- If you want that classic vibrant color, add a few drops of red food coloring to the vinegar mixture and stir to combine.
- Place the ginger slices into a clean jar, then pour the vinegar mixture over them, ensuring the ginger is fully submerged.
- Seal the jar and refrigerate for at least 24 hours before using. The longer it sits, the more flavorful it becomes!
Substitutions & Additions
If you’re looking to mix things up a bit, here are some ideas:
- Replace rice vinegar with apple cider vinegar for a different flavor profile.
- Add a bit of chili flakes for a spicy kick.
- Try using honey instead of sugar for a natural sweetness.
Tips for Success
Here are a few tips to ensure your pickled ginger turns out perfectly:
- Make sure to use young ginger, as it is more tender and less fibrous than older ginger.
- Don’t skip the salting step; it’s essential for the texture and flavor.
- If you’re making a larger batch, ensure the jar is properly sterilized to extend shelf life.
How to Store Red Pickled Ginger (Beni Shoga)
Store your pickled ginger in the refrigerator, where it can last for about 2 to 3 months. Just make sure it stays submerged in the vinegar mixture for the best flavor and freshness.
FAQs
Can I use older ginger for this recipe?
While you can use older ginger, it may be tougher and more fibrous, affecting the texture of your pickled ginger.
How can I use pickled ginger in my cooking?
It’s perfect as a condiment for sushi, salads, rice dishes, or as a refreshing side for grilled meats.
Is it safe to eat pickled ginger while pregnant?
In moderation, pickled ginger is safe during pregnancy, but it’s always best to consult your healthcare provider.
Now that you have this delightful recipe for red pickled ginger, you can add this tasty treat to your meals! For more delicious recipes, check out easy hot chocolate fudge or Japanese apple salad for treats you will love!
For more cooking inspiration, be sure to check out my Pinterest page!
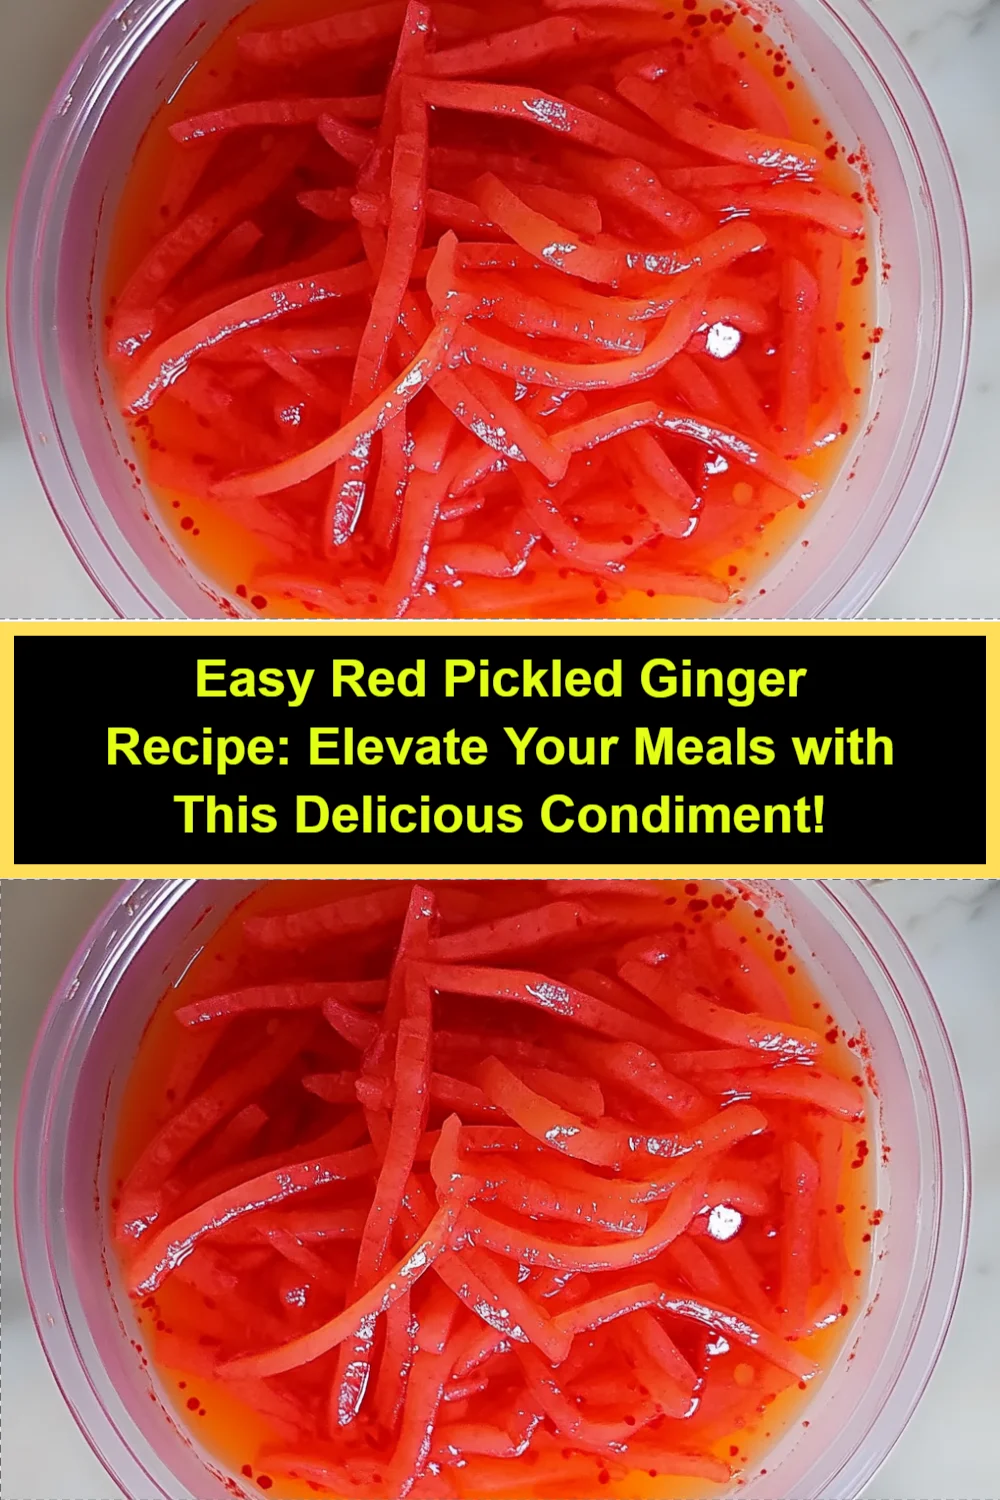
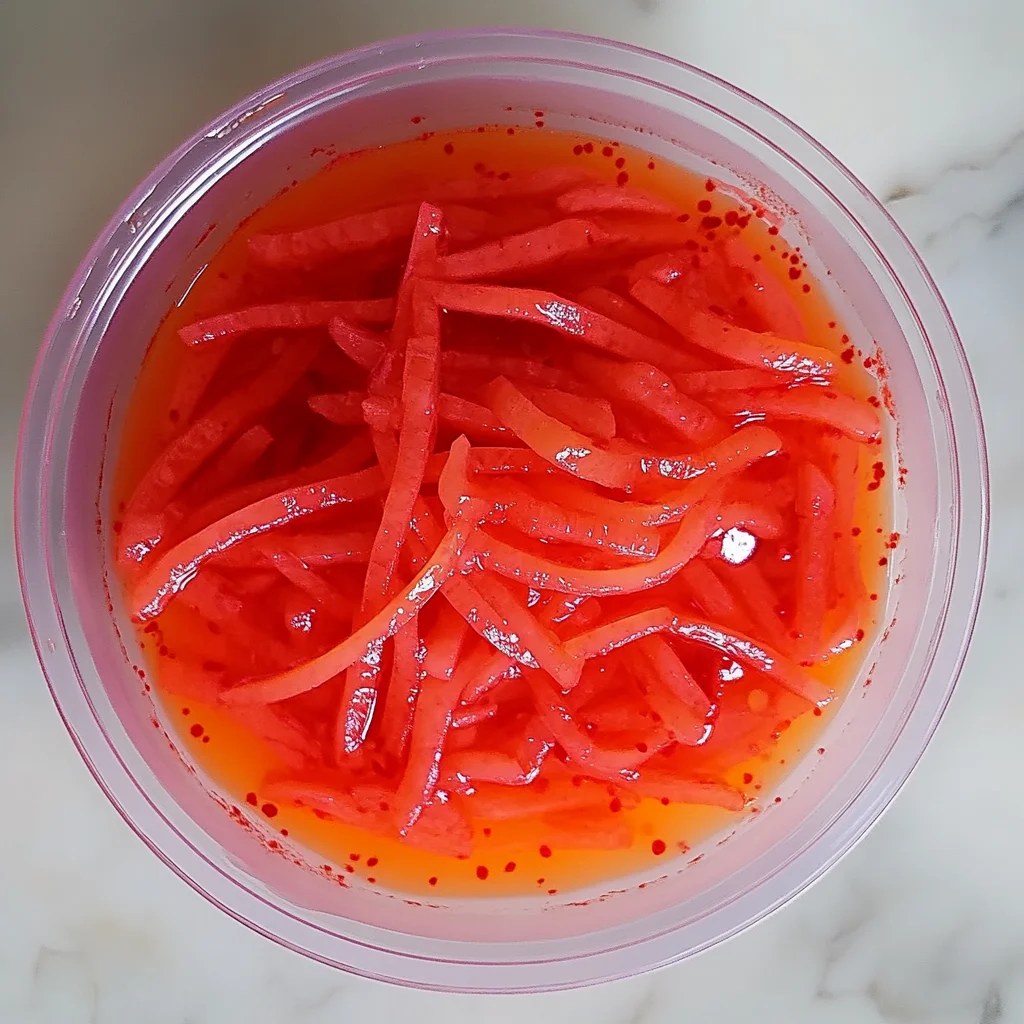
Red Pickled Ginger (Beni Shoga)
Ingredients
Method
- Step 1: Start by peeling and thinly slicing the young ginger. Place the slices in a bowl and sprinkle with salt. Let them sit for about 30 minutes to allow the salt to draw out moisture.
- Step 2: After 30 minutes, rinse the ginger slices under cold water and drain well. This step helps to reduce the saltiness.
- Step 3: In a saucepan, combine the rice vinegar and sugar. Heat over medium heat, stirring until the sugar completely dissolves. Once dissolved, remove the mixture from heat.
- Step 4: If you want that classic vibrant color, add a few drops of red food coloring to the vinegar mixture and stir to combine.
- Step 5: Place the ginger slices into a clean jar, then pour the vinegar mixture over them, ensuring the ginger is fully submerged.
- Step 6: Seal the jar and refrigerate for at least 24 hours before using. The longer it sits, the more flavorful it becomes!