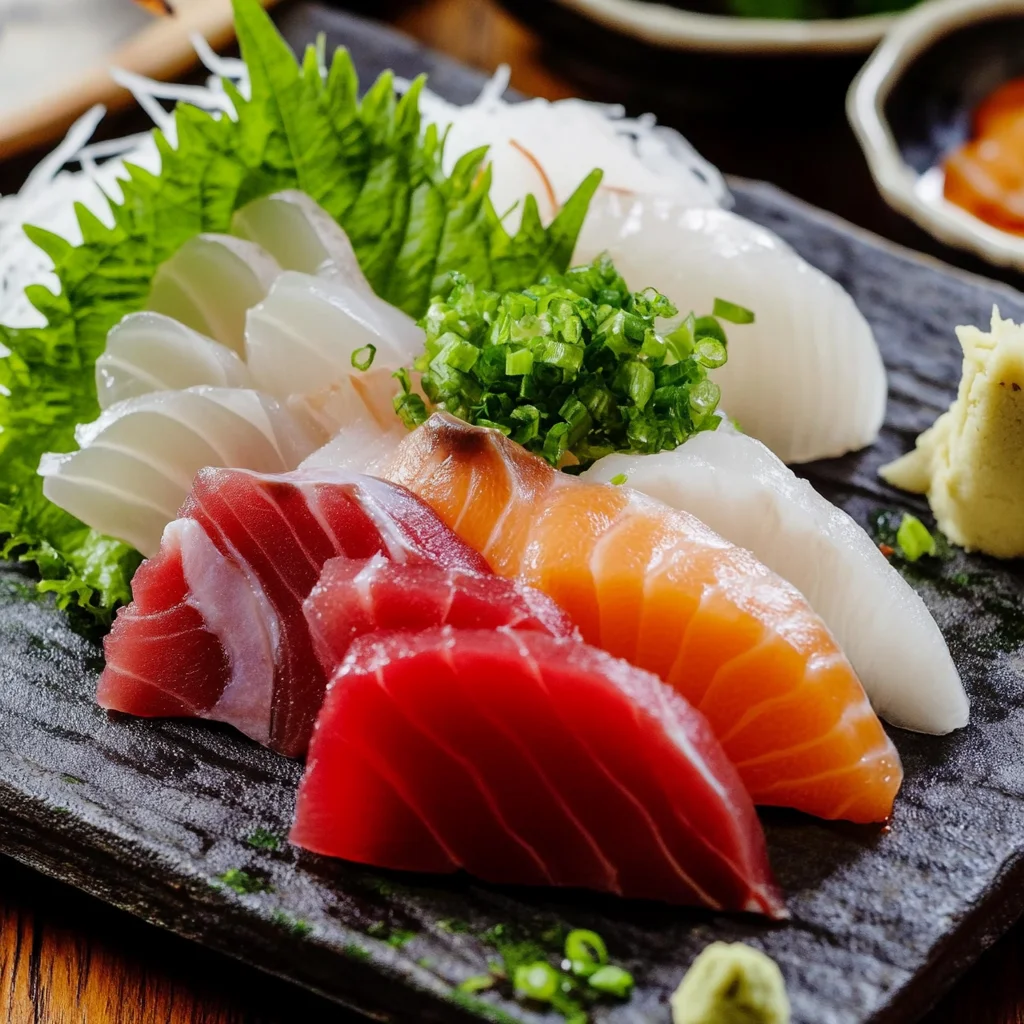
Ingredients
Equipment
Method
- Step 1: Prepare the Workspace: Start with a clean and dry cutting board. Have those paper towels within reach to pat the fish dry if you need to.
- Step 2: Select the Fish: Opt for high-quality, sushi-grade fish. Make sure it’s been stored and handled correctly to keep it fresh.
- Step 3: Remove Skin (if necessary): If your fish has skin, place it skin-side down. Starting at the tail end, slide the knife between the skin and the flesh, angling the blade slightly downwards. Use a gentle sawing motion to separate the skin from the flesh.
- Step 4: Trim the Fish: With your knife, remove any dark flesh or bloodline from the fish. This not only enhances the presentation but also improves the flavor.
- Step 5: Slice the Fish: Hold the fish firmly with one hand. With your other hand, position the knife at a 45-degree angle to the fish. Make smooth, even cuts, aiming for slices about 1/4 inch thick. For that traditional look, try to cut in a single motion without sawing back and forth.
- Step 6: Plate the Sashimi: Arrange the slices neatly on a plate, making sure they don’t overlap.
- Step 7: Serve Immediately: Sashimi is best enjoyed fresh, so serve it right away with soy sauce, wasabi, and pickled ginger on the side.
Notes
Store any leftover sashimi in an airtight container in the refrigerator. It’s best consumed within 24 hours for optimal freshness and flavor.