
There’s something truly magical about mochi, isn’t there? The chewy texture and the delightful sweetness can transport you back to childhood memories, whether it’s enjoying a treat at a local festival or sharing it with friends. This mochi recipe is not only easy to make but also incredibly satisfying, allowing you to create your own version of this beloved Japanese rice cake right in your kitchen.
Why You’ll Love What is Mochi? All You Need to Know About Japanese Rice Cakes
- Fast: You can have the main components prepped and ready in about 40 minutes.
- Easy: This simple process involves just a few steps that anyone can master.
- Giftable: These delightful treats are perfect for sharing, making them a thoughtful gift for friends and family.
- Crowd-pleasing: With various fillings to choose from, there’s a flavor for everyone!
Ingredients
- 1 cup glutinous rice (sweet rice): This is the star of the show, providing that signature chewy texture.
- 1 cup water: Essential for soaking and steaming the rice to perfection.
- Cornstarch or potato starch: Used for dusting to prevent sticking—this is a must!
- Optional fillings: Get creative! Think sweet red bean paste, creamy ice cream, or fresh fruit for a delicious twist.
How to Make What is Mochi? All You Need to Know About Japanese Rice Cakes
- Start by rinsing the glutinous rice under cold water until the water runs clear. This helps remove excess starch.
- Soak the rice in water for at least 8 hours or overnight. This step is crucial for achieving that perfect texture.
- After soaking, drain the rice and place it in a steamer lined with cheesecloth. Steam the rice for about 30-40 minutes, until it becomes translucent and sticky.
- Transfer the steamed rice to a large bowl. While it’s still warm, mash the rice using a pestle or your hands (careful, it’s hot!) until you have a smooth, sticky dough.
- Dust your working surface with cornstarch or potato starch to prevent sticking. Take a portion of the mochi dough and shape it into a disc or your desired shape.
- If you want to add fillings, flatten the mochi disc, place a small amount of your chosen filling in the center, and fold the edges over to seal it up nicely.
- Roll the formed mochi in cornstarch or potato starch to prevent sticking. Repeat the process with the remaining dough and fillings.
- Serve your delicious mochi immediately or store it in an airtight container at room temperature for up to a few days. Enjoy!
Substitutions & Additions
Don’t hesitate to mix things up! You can substitute the glutinous rice with alternative flours like sweet rice flour for a quicker method. If you want to add a burst of flavor, consider incorporating matcha powder or cocoa powder into the dough. For fillings, try chocolate, fresh fruit, or even a scoop of your favorite ice cream for a fun twist!
Tips for Success
- Be patient while soaking the rice; it makes all the difference in texture.
- When mashing the rice, work quickly while it’s warm to achieve a smooth consistency.
- If the dough is too sticky, dust your hands and surface with more starch.
How to Store What is Mochi? All You Need to Know About Japanese Rice Cakes
To keep your mochi fresh, store it in an airtight container at room temperature. It’s best enjoyed within a few days, but if you want to keep it longer, consider freezing the individual pieces. Just make sure to dust them with cornstarch to prevent sticking!
FAQs
- Can I use regular rice instead of glutinous rice? No, glutinous rice is essential for that chewy texture.
- What can I fill the mochi with? You can use sweet red bean paste, ice cream, fruit, or even chocolate!
- How long does mochi last? It can last up to a few days at room temperature, or longer if frozen.
Making mochi at home can be such a rewarding experience! For more delicious recipes, check out my easy hot chocolate fudge or Japanese apple salad for treats you will love!
Don’t forget to follow us on Pinterest for more delightful inspirations and recipes!

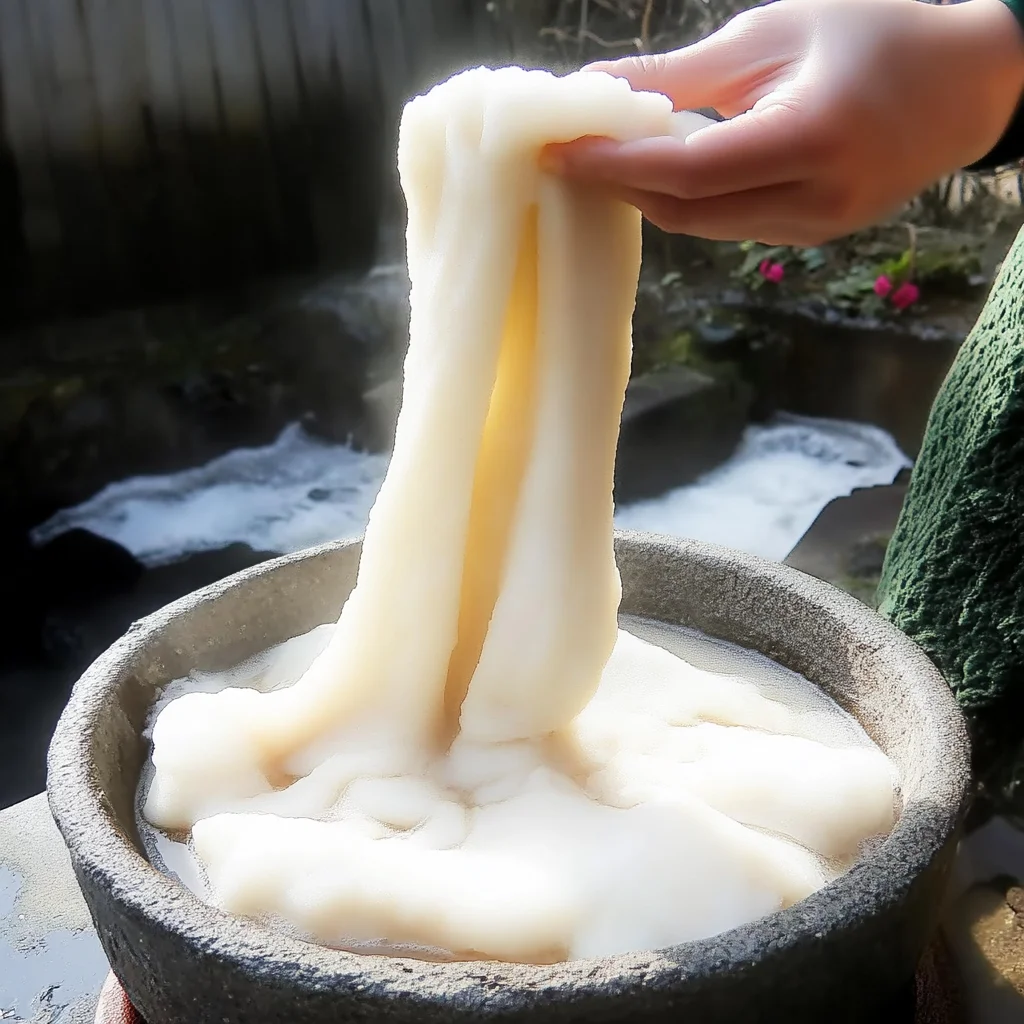
Mochi
Ingredients
Equipment
Method
- Step 1: Rinse the glutinous rice under cold water until the water runs clear to remove excess starch.
- Step 2: Soak the rice in water for at least 8 hours or overnight to achieve the perfect texture.
- Step 3: Drain the rice and place it in a steamer lined with cheesecloth. Steam the rice for about 30-40 minutes until it becomes translucent and sticky.
- Step 4: Transfer the steamed rice to a large bowl and mash it using a pestle or your hands until you have a smooth, sticky dough.
- Step 5: Dust your working surface with cornstarch or potato starch to prevent sticking. Shape the mochi dough into discs or your desired shape.
- Step 6: If adding fillings, flatten the mochi disc, place a small amount of filling in the center, and fold the edges over to seal.
- Step 7: Roll the formed mochi in cornstarch or potato starch to prevent sticking. Repeat with remaining dough and fillings.
- Step 8: Serve your mochi immediately or store in an airtight container at room temperature for up to a few days.