
There’s something so comforting about homemade pickles, isn’t there? They remind me of family gatherings, where every bite brought back cherished memories. Today, I’m excited to share a simple yet delightful recipe for Pickled Daikon with Shio Koji. This dish is not only quick to make but also brings a burst of flavor to your meals. You’ll find it’s the perfect side dish to elevate any dinner!
Why You’ll Love Pickled Daikon with Shio Koji
- Fast: You can have this dish prepped and marinating in just a few minutes!
- Easy: With just a handful of ingredients, even beginner cooks can whip this up.
- Giftable: This pickled delight makes a great gift for friends and family who appreciate homemade goodies.
- Crowd-pleasing: Its unique flavor will surprise and delight your guests, even those who may not be familiar with daikon.
Ingredients
- 1 large daikon radish: This crunchy vegetable is the star of the dish!
- 3 tablespoons shio koji: A fermented mixture that adds a savory depth of flavor.
- 1 tablespoon rice vinegar: This adds a nice tanginess to balance the sweetness.
- 1 tablespoon sugar: Just a touch to enhance the natural sweetness of the daikon.
- 1 teaspoon salt: This will help draw out moisture and enhance flavor.
- Water (as needed): To ensure the daikon is fully submerged.
How to Make Pickled Daikon with Shio Koji
Let’s get started on this delicious journey!
- First, peel the daikon radish and cut it into thin slices or matchsticks, depending on your preference.
- In a mixing bowl, combine the shio koji, rice vinegar, sugar, and salt. Mix well until the sugar and salt are dissolved.
- Add the sliced daikon to the bowl and toss to coat it evenly with the mixture.
- If needed, add water to ensure the daikon is fully submerged in the marinade.
- Transfer the daikon and marinade to a clean jar and seal it tightly.
- Refrigerate for at least 24 hours before serving to allow the flavors to develop. Patience is key here!
- Finally, serve as a side dish or garnish to your favorite meals.
Substitutions & Additions
If you’re feeling creative, here are some fun substitutions and additions you can try:
- Replace shio koji with miso paste for a different flavor profile.
- Add sliced carrots or cucumbers for extra crunch and color.
- Include a splash of soy sauce for added umami.
Tips for Success
Here are a few tips to ensure your pickled daikon turns out perfectly:
- Make sure your jar is clean to avoid any unwanted bacteria.
- If you prefer a sweeter pickle, feel free to increase the sugar.
- Letting it marinate longer will enhance the flavor, so don’t rush the waiting period!
How to Store Pickled Daikon with Shio Koji
Store your pickled daikon in the refrigerator, where it will keep for about 2-3 weeks. Just make sure it’s submerged in the marinade to maintain its crunch and flavor.
FAQs
- Can I use a different type of radish? Yes! You can experiment with other radish varieties, but the texture and flavor may differ.
- What do I serve with pickled daikon? It pairs wonderfully with grilled meats, rice dishes, or even as a topping for sushi.
- Is shio koji hard to find? It’s becoming more popular and can often be found at Asian grocery stores or online.
And there you have it! A simple yet flavorful recipe for Pickled Daikon with Shio Koji that you will definitely want to keep on hand. For more delicious recipes, check out this sweet treat or this refreshing apple salad that you will love!
If you enjoyed this recipe, don’t forget to follow us on Pinterest for more delicious inspiration!
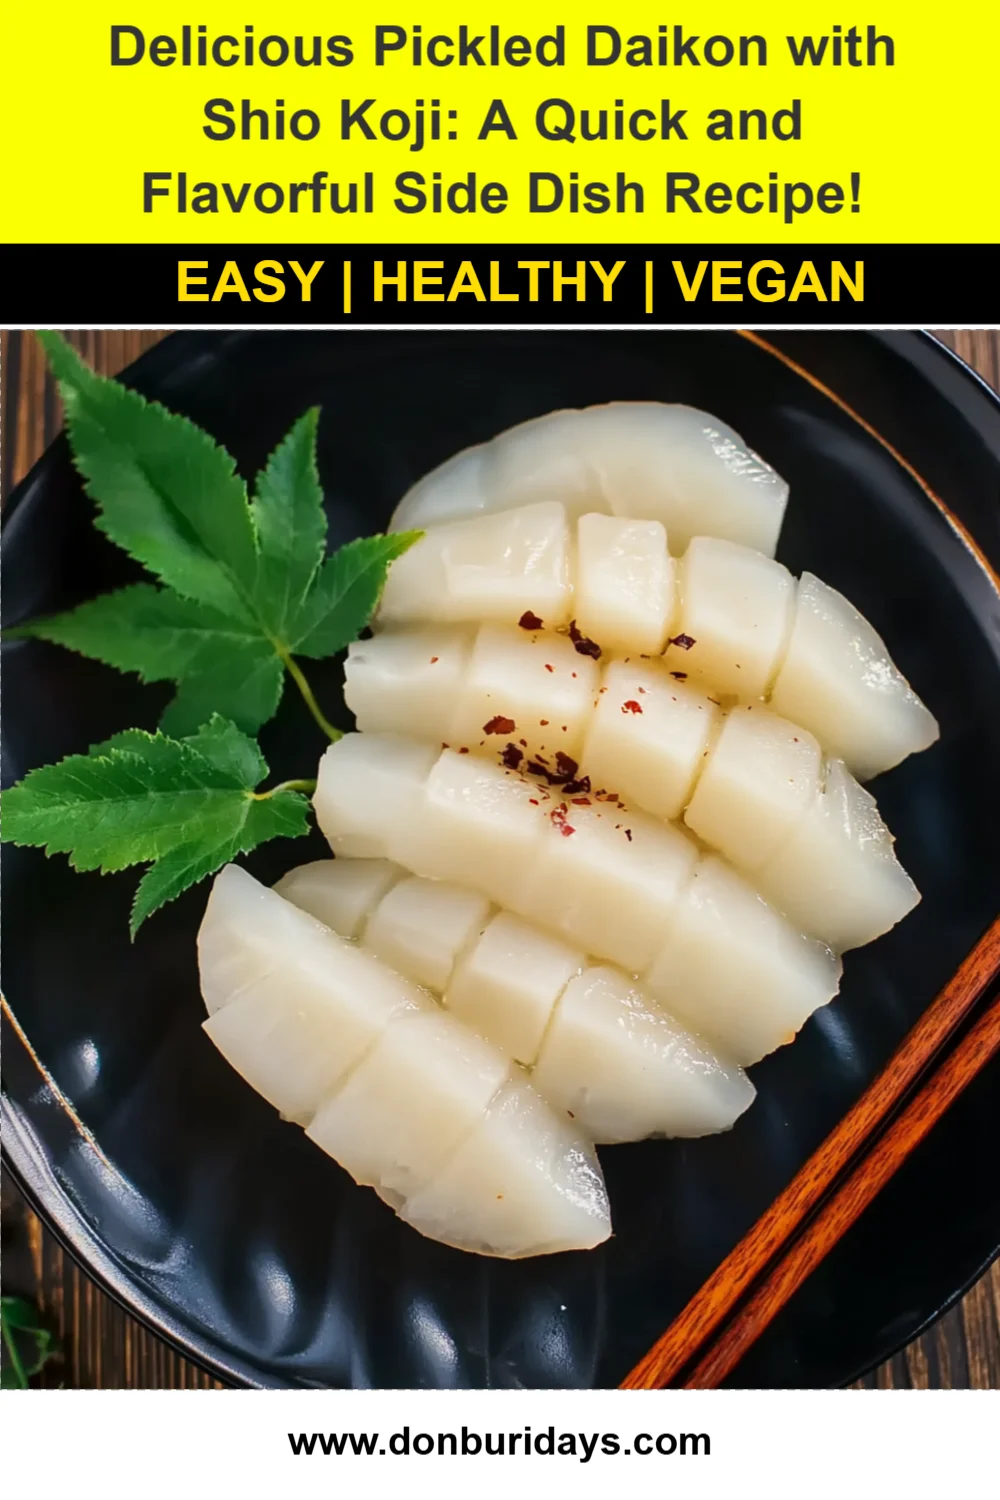
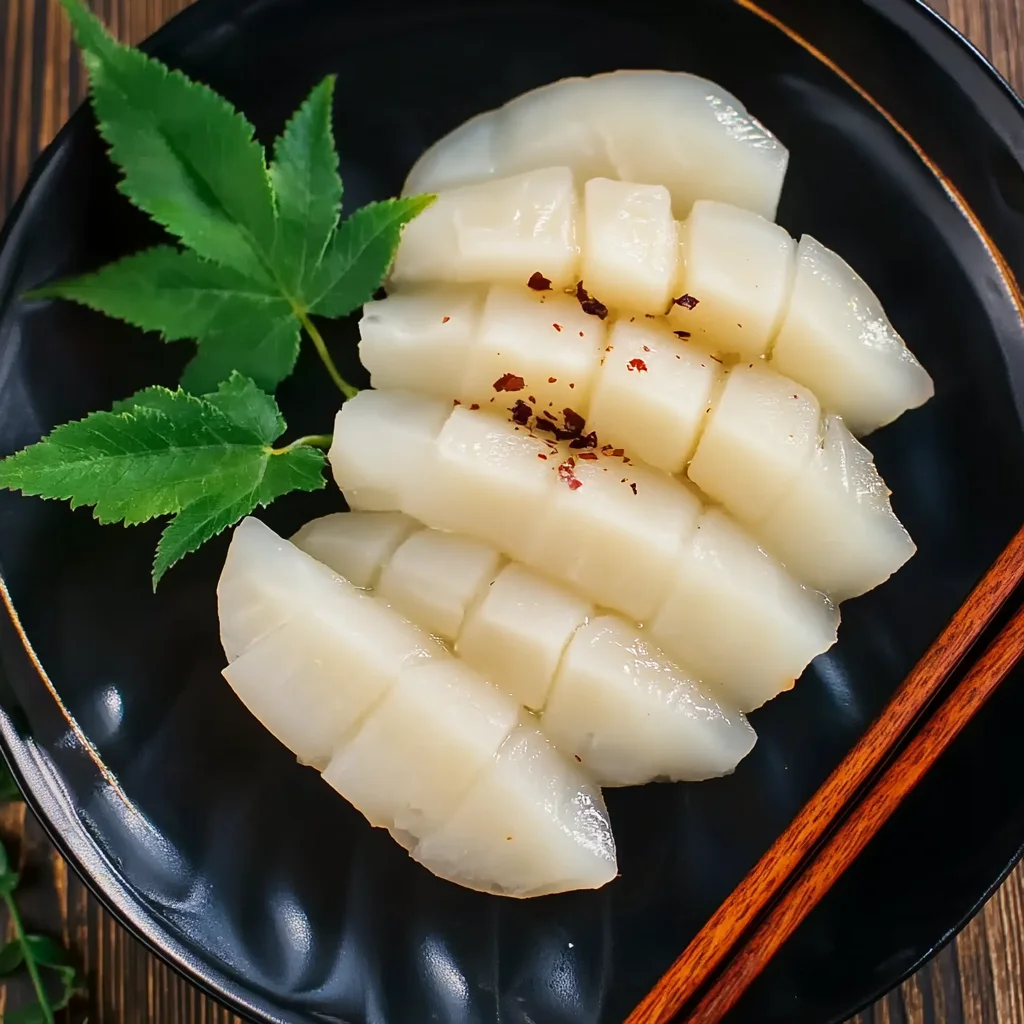
Pickled Daikon with Shio Koji
Ingredients
Equipment
Method
- Step 1: Peel the daikon radish and cut it into thin slices or matchsticks, depending on your preference.
- Step 2: In a mixing bowl, combine the shio koji, rice vinegar, sugar, and salt. Mix well until the sugar and salt are dissolved.
- Step 3: Add the sliced daikon to the bowl and toss to coat it evenly with the mixture.
- Step 4: If needed, add water to ensure the daikon is fully submerged in the marinade.
- Step 5: Transfer the daikon and marinade to a clean jar and seal it tightly.
- Step 6: Refrigerate for at least 24 hours before serving to allow the flavors to develop.
- Step 7: Serve as a side dish or garnish to your favorite meals.