
Ah, the tangy crunch of Beni Shoga! This vibrant red pickled ginger brings back memories of sushi nights and cozy Japanese dinners. If you’re like me, there’s something incredibly satisfying about making your own pickles at home. Plus, this recipe is not only quick to whip up but also a delightful addition to countless dishes. Let’s dive into the world of pickling and create some deliciously easy Beni Shoga together!
Why You’ll Love Beni Shoga (Red Pickled Ginger)
- Fast: You can have the main components prepped and in the jar in less than an hour.
- Easy: With just a few simple steps, you’ll master this tangy treat in no time.
- Giftable: Homemade pickled ginger makes a lovely gift for friends and family who adore Japanese cuisine.
- Crowd-pleasing: This vibrant condiment complements sushi, rice bowls, and salads, making it perfect for gatherings!
Ingredients
- 200g fresh ginger: The star of the show; fresh ginger gives the best flavor.
- 50g salt: Essential for drawing out moisture from the ginger.
- 100ml rice vinegar: This gives the ginger its characteristic tang.
- 100g sugar: Balances the vinegar with a touch of sweetness.
- 1 tablespoon red food coloring (optional): For that beautiful, vibrant color!
How to Make Beni Shoga (Red Pickled Ginger)
- Start by peeling the fresh ginger. I find using a spoon works wonders for this task! Once peeled, slice it thinly with a mandoline or a sharp knife.
- Place the sliced ginger into a bowl and sprinkle with salt. Mix it well and let it sit for about 30 minutes. This step is crucial as it helps draw out moisture, giving your pickles that perfect crunch.
- After 30 minutes, rinse the ginger under cold water to remove the excess salt. Drain it well to ensure no water is left behind.
- In a saucepan, combine rice vinegar and sugar. Heat over medium heat, stirring until the sugar dissolves completely. Once done, remove from heat and let it cool.
- If you’d like your ginger to have that iconic red hue, add the red food coloring to the cooled vinegar mixture and stir until well combined.
- Now, place the drained ginger into a clean jar. Pour the vinegar mixture over the ginger, ensuring every piece is fully submerged.
- Seal the jar and refrigerate for at least 24 hours before using. The longer it sits, the more flavorful it becomes!
Substitutions & Additions
If you want to switch things up, consider these fun alternatives:
- Use apple cider vinegar instead of rice vinegar for a different flavor profile.
- Add a hint of chili flakes to spice things up.
- For a sweeter version, increase the sugar slightly or add a splash of fruit juice.
Tips for Success
- Make sure to slice the ginger as thinly as possible for the best texture.
- Don’t rush the salting process; it truly enhances the flavor and crunch of the ginger.
- Try to use a clean jar to avoid any bacteria that might spoil your pickles.
- If you want to prep ahead, this pickled ginger lasts for several weeks in the fridge, so feel free to make a batch in advance!
How to Store Beni Shoga (Red Pickled Ginger)
Once your Beni Shoga is ready, keep it stored in an airtight container in the refrigerator. It will stay fresh for about 2-3 weeks, allowing you to enjoy it with all your favorite dishes. Just make sure it remains submerged in the vinegar mixture to keep it properly pickled!
FAQs
Can I use other types of vinegar?
Yes! While rice vinegar is traditional, you can experiment with other types like white vinegar or apple cider vinegar for different flavors.
How can I serve Beni Shoga?
This pickled ginger is perfect as a condiment for sushi, rice bowls, or even on top of salads for a zesty kick!
Is it necessary to use food coloring?
No, the food coloring is optional. The ginger will taste great without it; the color just adds a beautiful visual element.
Can I make this vegan?
Absolutely! This recipe is naturally vegan, so enjoy freely!
Now that you have your Beni Shoga ready, I hope you enjoy this delightful pickled ginger as much as I do. For more delicious recipes, check out my delightful Japanese Apple Salad or Oyakodon Recipe for treats you will love!
Don’t forget to follow my Pinterest for more delicious inspiration and ideas!
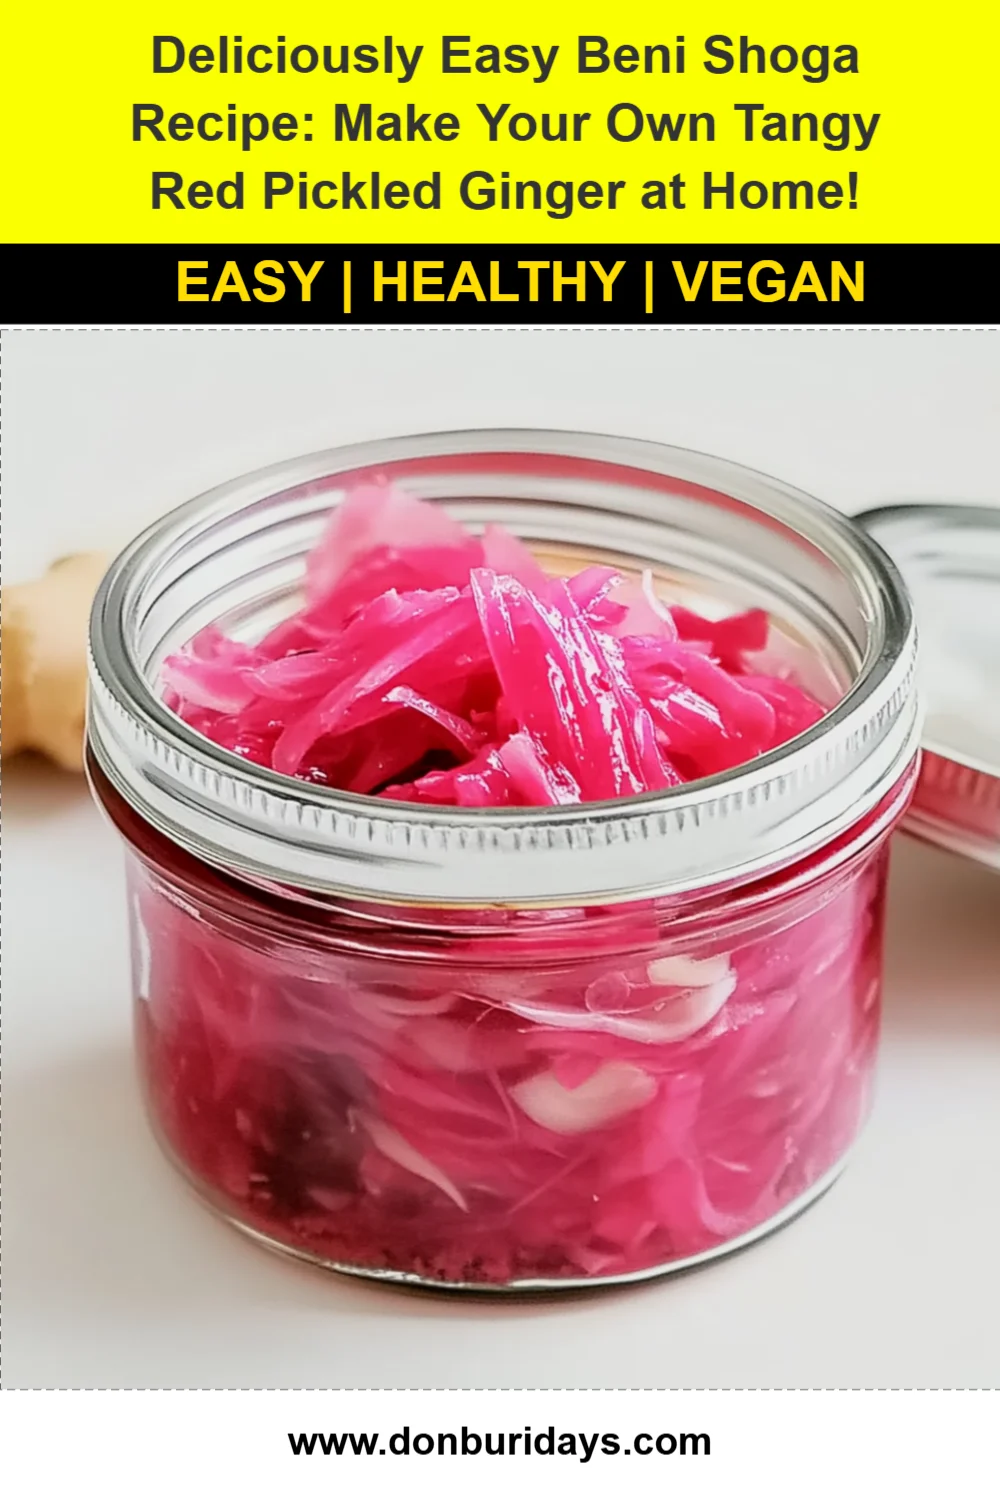
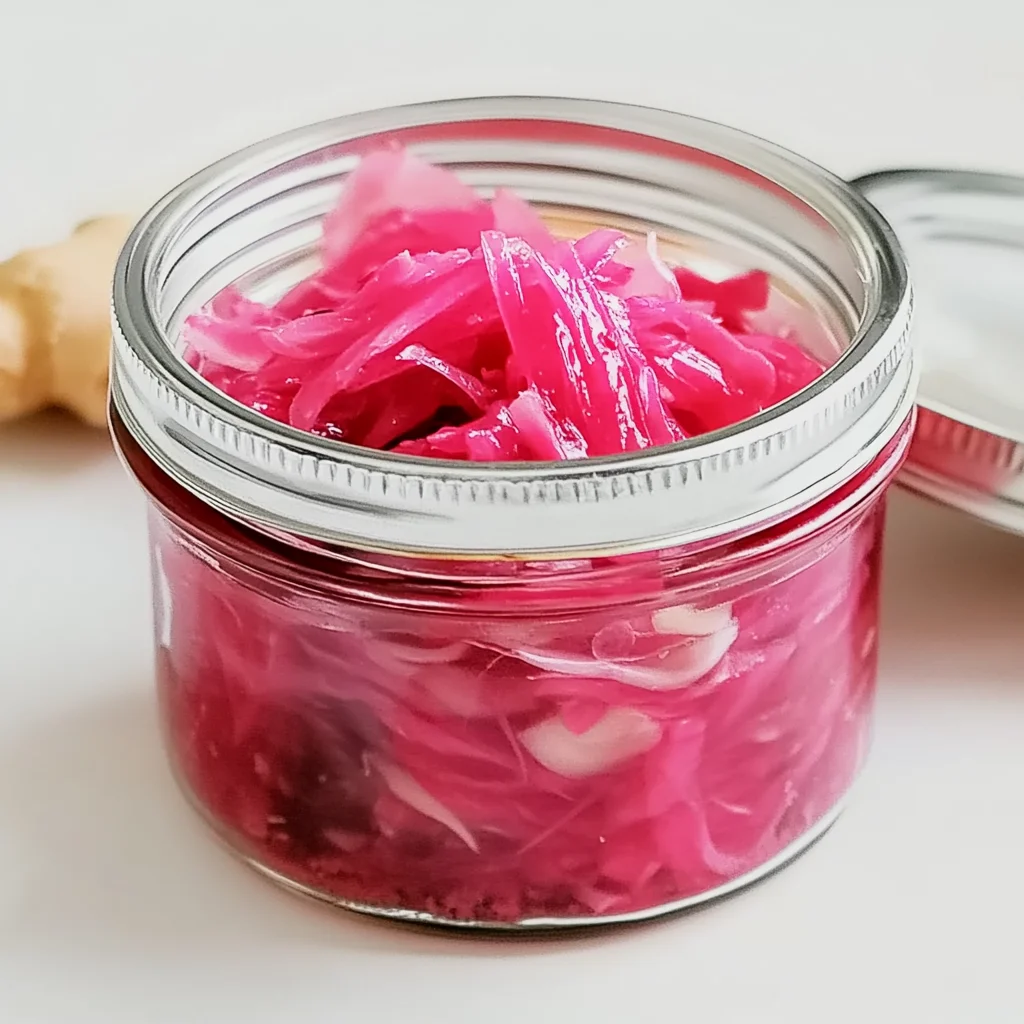
Beni Shoga (Red Pickled Ginger)
Ingredients
Equipment
Method
- Step 1: Peel the fresh ginger and slice it thinly with a mandoline or sharp knife.
- Step 2: Place the sliced ginger into a bowl, sprinkle with salt, and mix well. Let it sit for about 30 minutes to draw out moisture.
- Step 3: After 30 minutes, rinse the ginger under cold water and drain well.
- Step 4: In a saucepan, combine rice vinegar and sugar. Heat over medium heat, stirring until the sugar dissolves completely, then let it cool.
- Step 5: If desired, add the red food coloring to the cooled vinegar mixture and stir until well combined.
- Step 6: Place the drained ginger into a clean jar and pour the vinegar mixture over it, ensuring every piece is fully submerged.
- Step 7: Seal the jar and refrigerate for at least 24 hours before using to enhance the flavor.