
There’s something so comforting about working with sweet rice flour, isn’t there? Whether it’s the soft, pliable texture or the sweet, delightful treats you can create, shiratamako brings back memories of cozy kitchens and family gatherings. This recipe is not just easy but also incredibly quick, making it a perfect choice for those moments when you want something delicious but don’t have all day to spend in the kitchen.
Why You’ll Love Shiratamako (Sweet Rice Flour)
- Fast: You can have the main components prepped and ready to cook in about 10 minutes.
- Easy: It’s a simple mix and knead method that even beginner cooks can master.
- Giftable: Create sweet treats that are perfect for sharing at gatherings or as thoughtful homemade gifts.
- Crowd-pleasing: These sweet delights are sure to win over even the pickiest of eaters!
Ingredients
- 1 cup shiratamako (sweet rice flour) – This is the star of our recipe, providing that lovely chewy texture.
- 1/4 cup water – You might need to adjust this a bit to get the perfect dough consistency.
- Optional: sugar or sweetener to taste – A little sweetness can enhance the flavor, so feel free to add it based on your preference!
How to Make Shiratamako (Sweet Rice Flour)
- Start by grabbing a mixing bowl and putting in the shiratamako. Add 1/4 cup of water to it. I recommend starting with this amount and adjusting as needed.
- Mix the two ingredients together until they form a cohesive dough. You want it to be smooth and pliable, so knead it gently with your hands if necessary.
- If you’d like your dough to be a little sweeter, now is the time to add sugar or your favorite sweetener. Mix it thoroughly until it’s evenly distributed.
- Once your dough is ready, shape it as needed for your specific recipe or use it as a versatile base for various desserts.
- Cook or steam your creations according to your specific recipe instructions, ensuring everything is thoroughly cooked before serving. Enjoy your delightful treats!
Substitutions & Additions
If you’re feeling adventurous, consider adding some flavorings like matcha powder or cocoa powder to the dough for a twist. You can also substitute the water with fruit juice for a fun flavor variation. The options are endless, and I love experimenting with different tastes!
Tips for Success
- Common Mistake: Adding too much water at once can make the dough too sticky. Always start with less and add more as needed.
- Prep Ahead: You can mix and knead the dough ahead of time and keep it in the fridge for a day or two, which is perfect for when you want to whip up something sweet at a moment’s notice.
How to Store Shiratamako (Sweet Rice Flour)
Store any leftover dough in an airtight container in the refrigerator for up to a week. If you’ve made treats, you can keep them in the fridge as well, but they are best enjoyed fresh. If you want to keep them longer, consider freezing them!
FAQs
- Can I use regular rice flour instead of shiratamako? No, shiratamako has a unique sticky quality that regular rice flour lacks, so it’s best to use the correct type.
- What can I make with shiratamako? You can create a variety of desserts like mochi, dumplings, or even use it as a base for various sweet treats.
- Is shiratamako gluten-free? Yes! Shiratamako is made from gluten-free sweet rice, making it a great option for those with gluten sensitivities.
Now that you’re armed with this wonderful recipe, I hope you feel inspired to get into the kitchen and start creating your own sweet rice flour delights. For more delicious recipes, check out my easy hot chocolate fudge recipe or Japanese apple salad recipe for treats you will love!
Don’t forget to follow my Pinterest for more delicious ideas and inspiration!

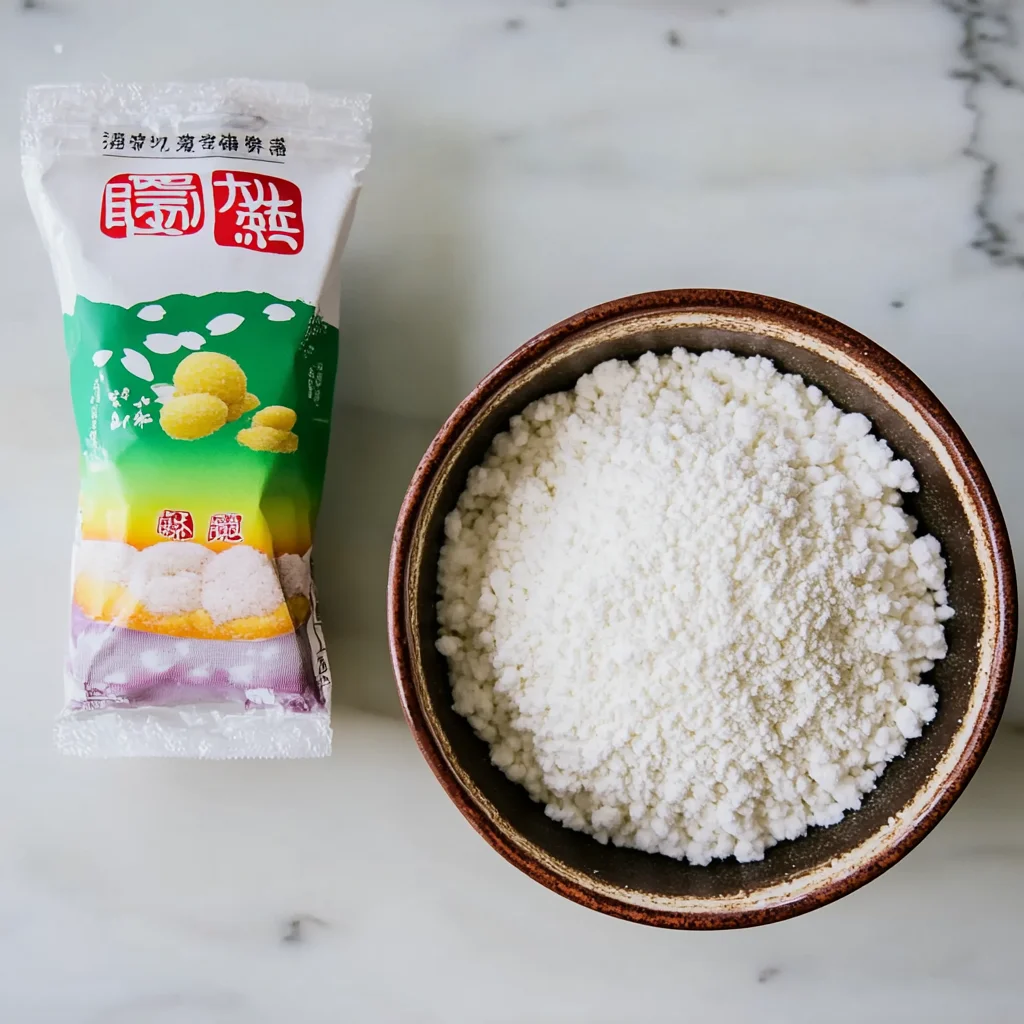
Shiratamako (Sweet Rice Flour) Treats
Ingredients
Equipment
Method
- Step 1: Start by grabbing a mixing bowl and putting in the shiratamako. Add 1/4 cup of water to it.
- Step 2: Mix the two ingredients together until they form a cohesive dough. Knead gently if necessary.
- Step 3: Add sugar or your favorite sweetener if you'd like your dough sweeter, and mix thoroughly.
- Step 4: Shape your dough as needed for your specific recipe or use it as a versatile base for various desserts.
- Step 5: Cook or steam your creations according to your specific recipe instructions.